My Projects

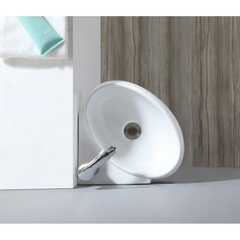
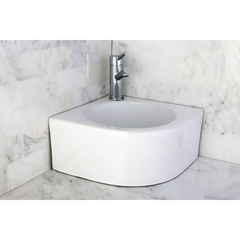
A wall-mount sink attaches directly to the wall instead of resting on a pedestal or vanity cabinet. This leaves plenty of space under the sink and allows you to position the sink at a height that works best for you, making it an ideal option for bathrooms that need to be accessible for wheelchair users. The design also makes cleaning the floors around and under the sink easier.
When installing a wall-mount sink, it's important to follow the manufacturer's instructions to ensure a proper fit and secure attachment so the sink doesn't fall. The following guide includes general directions for safely installing a wall-mount sink and tips to help you incorporate the new sink into the existing room's design.

Before installing a wall-mount sink, think about the layout of the room and your lifestyle. With a little planning, you can anticipate potential problems and make adjustments as needed.

When installed properly to the wall studs, wall-mount sinks are safe to use in a bathroom. However, it's generally not a good idea to stand on the sink when replacing lightbulbs or cleaning the top of the mirror. There's always a chance the sink can pull away from the wall since it doesn't have a cabinet to support the additional weight.
The sink's manufacturer should provide directions for installing the sink. These directions also include the tools needed for the project. Gather the recommended tools and remove the existing sink before starting the below installation.
Locate the spot where the sink will be mounted. Note the location of the plumbing and wall studs. Remove enough of the drywall to provide access to the water and waste pipes.
Examine the existing plumbing lines carefully. You may often have to reroute and shorten the pipes to accommodate the new sink.
Make sure the studs can support the sink. If the studs are not positioned in the right spot for the sink, now is the time to add wood blocking between the studs.
Attach the faucet and drain to the sink. At this stage in the installation, it is easier to double-check the plumbing lines' length and position to ensure they line up with the sink.
Mount the sink to the wall. Be sure to follow the manufacturer's instructions. Some sinks use a mounting plate, while others attach directly to the wall. It's also important to avoid over-tightening the bolts — too much pressure can crack the surface of the sink.
Connect the water supply to the sink. This step can take some time, especially if the pipes are rigid or cut just long enough to reach the sink.
Before sealing the wall, turn on the faucet to ensure the sink works properly. Note whether the hot and cold water lines are routed correctly to the faucet and look for signs of leaks.
Replace and seal the wall behind the sink. Then apply caulk around the edges of the sink where it meets the wall. This protects the wall and creates a uniform look.