
My Projects
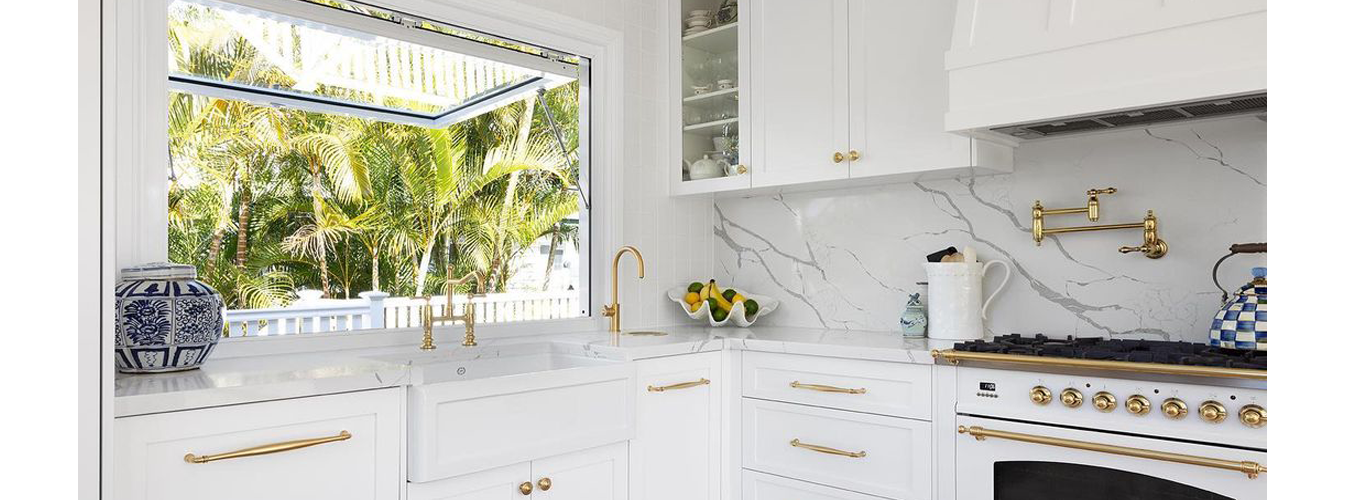
For those who may need to become more familiar with every little technical feature in a kitchen, a pot filler is a type of faucet that extends over the cooking range. As the name implies, it fills pots and saucepans with water for cooking preparation. Cooks from all over the world agree that having a pot filler is an essential faucet in the kitchen that will save them a lot of time and backaches. Installing a pot filler faucet is easier than it seems. Try these few simple tips that can help you install one successfully.
Measure the Location of the Pot filler.

Before installing the pipes, you need to measure how high you need the faucet to be. The lowest section of the tap should be installed at least three inches above the combined height of the stovetop and your pot. When installing the pot filler, it's recommended to use the tallest pot you own as a rule of thumb so all the pots fit snugly underneath it. You might also have further instructions from your manufacturer about height, so follow these closely; you can also refer to our article on the proper placement of the pot filler faucets.
Pot filler Plumbing

Turn off the water at the nearest water line. Cut it with a pipe cutter, solder it on a tee, and assemble a branch line with copper pipe and fittings to the location of the pot filler. Before soldering the fittings with a torch, apply soldering flux to the pipe's outside and the fitting's inside at each joint.
Check out the instructions for the proper way to terminate the line. Many models require a threaded brass elbow that you screw to the stud behind the wall. Others may need a slip elbow to which you can solder a copper pipe. Install the fitting as instructed.
Install an appropriate stub-out pipe according to the instructions. If you installed a threaded elbow, screw a brass nipple of the proper length into it.

Insert the mounting plate onto the faucet, secure it with the set screw, and thread the faucet onto the stub-out; make sure the faucet is level and mark the location of the holes; remove the faucet and the mounting plate, and drill the holes at the marked location.

Insert the appropriate anchors and attach the mounting plate to the wall, insert the decorative flange on the faucet, and after applying Teflon tape or thread sealing compound, thread the faucet on the stub out; you may need to use a strap wrench to avoid damaging the faucets finish, secure by tightening the set screw located at the top of the faucet's post.

Slide the decorative flange down to cover the mounting plate, remove the aerator, turn on both valves and allow the water to run for 30 seconds or more; this will clear any debris from the line, check for any leaks while the water is running, re-install aerator.

In some cases, installing a pot filler on the wall might be a considerable undertaking, mainly because breaking a wall might be an overwhelming inconvenience; for those types of cases, Kingston Brass now features deck-mounted pot fillers.
Now that you are ready to enjoy your pot filler, visit the Kingston Brass website and browse the extensive selection of pot fillers.
