
My Projects
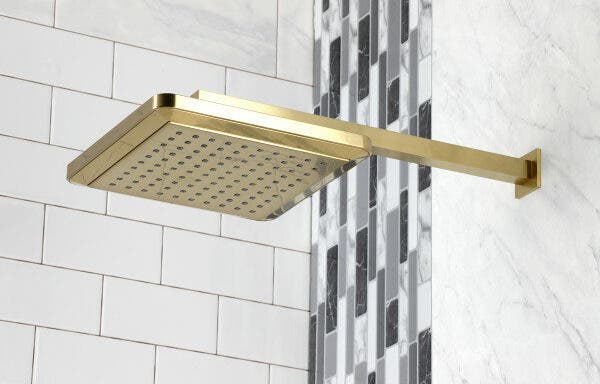
| Featured Image – SKU: K250A7CK | There are plenty of reasons you might need to replace your shower arm: It might be leaking, it might be out of style, or it may have developed rust or residue. |
Luckily, replacing a shower arm is a job you can likely do yourself without needing to hire a plumber. Let’s start with the tools you’ll need for the job:
Start by removing the shower head, as this makes it easier to take off the shower arm. Using a pipe wrench, hold onto the existing shower arm — then use an adjustable wrench to loosen the shower head nut.
If your shower head is scaled over, fill the large mixing bowl with white vinegar and hold it up so the shower head is submerged for a few minutes. This will loosen the scaled-on minerals and aid in removing the shower head.
The reason you should wipe away mildew, mold, and scale from the old shower arm is that it will make it easier to remove. You can use vinegar or limescale remover for this job.
Shower arms are screwed into the receiver behind the wall — so removing them is simply a matter of unscrewing them. With your pipe wrench, grasp the shower arm and turn it counter-clockwise slowly.
“Slowly” is the key word here — do it too fast, and you risk breaking it. If it doesn’t give fairly easily, apply some metal lubricant like WD-40 and let it sit for several hours, then try again.
Plumber’s tape prevents water from sneaking through the threads of your shower arm.
To apply plumber’s tape properly, face the threaded end of the arm toward you and wrap it several times clockwise. This will prevent the tape from bunching up once you start screwing it in. Turn the arm clockwise to tighten it into the pipe.
Apply plumber’s tape just like before and screw the shower head back on. Tighten till snug with the adjustable wrench. Test for leaks, and you’re good to go!
Find a shower arm that matches your style and finish at Kingston Brass. Our wide selection offers quality, aesthetics, and functionality in one place — shop for yours today.

