

Few design elements elevate a bathroom like a freestanding bathtub. Its sculptural silhouette and spa-like presence make it an instant focal point in an area that’s perfect for relaxation.
Beyond its beauty, a freestanding tub elevates your bathing experience, transforming daily routines into serene moments. Whether you’re a DIY renovator or simply planning your next home upgrade, this guide walks you through the freestanding tub installation process, from planning to execution.
Pre-Installation Considerations
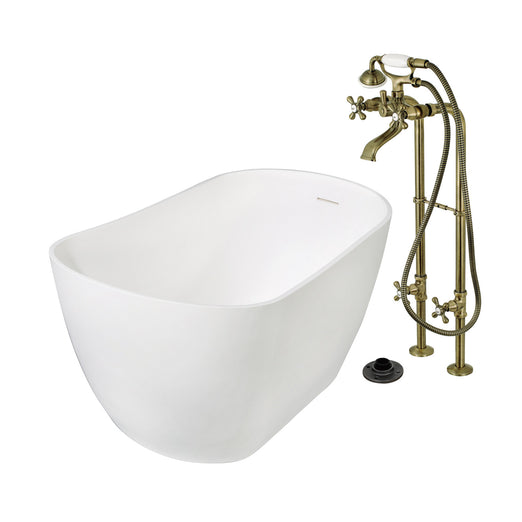
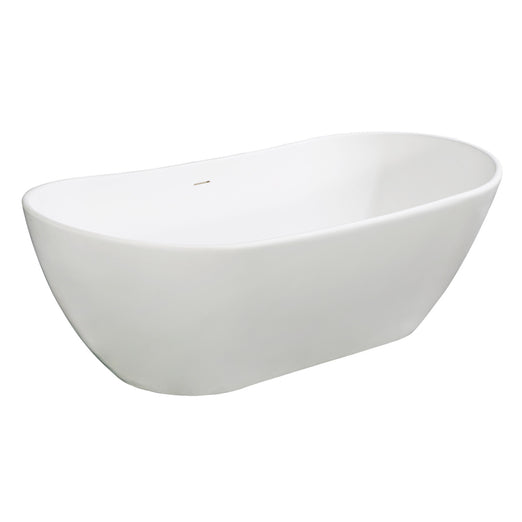
Pictured: KINGSTON VTSQ593223 Freestanding Tub with KS4130QLL Tub Faucet
Most installations take a few hours to a full day, depending on the complexity of the plumbing and floor readiness. Before anything else, carefully assess these details to ensure a successful installation:
Structural Support
Freestanding tubs are heavy, especially when filled with water. If installing one in an older home or on an upper floor, you must ensure the subfloor can handle the load by reinforcing joists. If you’re unsure about the structural integrity of your property, consult a professional contractor or structural engineer before you install a freestanding tub.
Plumbing Layout and Spacing
People often think that you need a lot of extra space all around the tub, and may ask, "How much space do you allow around a freestanding tub?" The answer may surprise you: you do not need that much space. You do need to allow for a minimum of six inches on the exact side where the faucet will be installed, which also be enough room for the supply lines. Six inches of space or more will provide accessibility in case the faucet or the supply lines need to be serviced.
For plumbing, freestanding tubs can connect to water lines attached to the floor or mounted to the wall. Determining the ideal setup early on can help you avoid costly adjustments down the line. While you can use a wall-mounted faucet for your setup, make sure your tub is installed within reach.
Flooring
Freestanding tubs can be installed over any water-resistant flooring materials. You must also ensure the floor is even before placing your tub and applying proper sealing. Keep in mind, water and humidity will accumulate from regular usage so keeping all surfaces dry is key for product longevity.
Related: Creative Ideas for Large Bathrooms
Tools & Materials Checklist
While installing freestanding tubs may seem complex, a clear plan and the right tools can make the process more manageable.
Tools & Materials for Freestanding Tub Installation
- A tape measure and pencil for marking the placement
- A level to ensure a balanced setup
- Adjustable wrench and pliers
- Screwdrivers
- Silicone sealant
- Teflon tape
- Plumber’s putty
- Caulking gun
- Shims for leveling
- Protective gear, like gloves, knee pads, and eyewear
- Moving straps or an extra set of hands for safe lifting
Tub Accessories & Parts
Then, ensure you also have the necessary tub accessories or parts:
- Drain assembly and overflow kit
- Tub faucets and water supply connectors
- Mounting hardware
Step-by-Step Installation Guide
Pictured: KINGSTON KS8151DL Freestanding Tub Faucet
Once your layout is confirmed and your materials are ready, it’s time to begin the freestanding tub installation. Most KINGSTON tubs are compatible with standard plumbing configurations. However, installing a freestanding tub from KINGSTON involves careful positioning, precise plumbing work, and sealing. This ensures your freestanding tub and its surrounding space is not only functional, but also beautiful.
Step 1: Position and Dry Fit
To guarantee your vision for the tub will work, begin your installation with a “dry fit.” This involves setting the tub down to see how it looks in your bathroom. It also helps confirm that the drain and faucet are correctly positioned before making any permanent connections.
Start by carefully placing the tub in its intended spot. Allow at least 20 inches of clearance on all sides for accessibility. Use a level across the tub’s length and width to check for even placement.
Step 2: Install Drain Assembly
To install the drain assembly, apply some plumber’s putty beneath the drain flange and insert it through the tub’s drain opening. From underneath, secure the gasket and locknut, being careful not to over-tighten.
Test for leaks before proceeding to the next steps. If your tub includes an overflow, follow the manufacturer’s instructions to align and seal it properly.
Step 3: Connect the Drain to the Plumbing
Align the tub’s tailpiece with the floor drain and secure it using a compression fitting or coupling. Pour a small amount of water into the tub to test for leaks before proceeding.
Step 4: Secure the Tub
Once the drain is connected and leak-free, secure the tub in place. Apply a bead of silicone adhesive around the base or use included brackets. Recheck the level, using shims as needed for a stable installation. Adjustments may be needed for floor-mounted fixtures or unique layouts, like freestanding tub faucet installation.
Step 5: Connect Water Supply
Install the tub filler and confirm proper alignment with your supply lines. Wrap Teflon tape around the threaded connections and tighten the fittings using a wrench, again being careful not to overtighten. Confirm the faucet is aligned properly with the tub rim or centerline.
Step 6: Seal & Test
Run a clean bead of silicone around the base of the tub where the tub meets the floor. Let the sealant cure fully according to the product’s instructions. Fill the tub slowly and inspect all plumbing points for leaks, including the drain, overflow, and supply lines.
See Also: 10 Freestanding Bathtubs for Your Modern Bathroom
Troubleshooting Tips
Even with careful planning, minor issues can still occur during or after freestanding tub installation. Here are a few common ones and how to resolve them:
- Unsteady or Rocking Tub: To troubleshoot an unsteady tub, use shims under the feet to level the base, then secure the tub with silicone adhesive to prevent movement.
- Drain Leaks: Check that the gasket fits snugly in its position and that the locknut is tightened. Apply fresh plumber’s putty and test it with water before finishing the installation.
- Slow or Blocked Drainage: Inspect the freestanding tub drain installation for misalignment or clogs. Adjust the tailpiece or trap connection to restore proper flow.
- Cosmetic Imperfections: For gaps in caulking, smooth out the sealant before it cures. If the caulk has hardened already, fill the gaps with more caulk and smooth it out. For surface scratches, polish the finish gently with a soft cloth.
Addressing these details early ensures your bathtub installation is durable and seamless.
When To Call a Professional
Many homeowners with DIY experience choose to handle the installation themselves. However, complex plumbing reroutes or structural floor concerns may require professional support to ensure safety and code compliance.
If your bathroom requires structural changes, new plumbing lines, or second-floor reinforcement, it’s best to hire a licensed professional. Older homes with dated infrastructure may also need an expert assessment before installing a freestanding tub.
A professional can ensure everything meets local building codes while avoiding long-term issues with water damage or flooring stress. Ultimately, hiring help for complex installations protects your investment and gives you peace of mind once the tub is in place.
Maintenance Tips Post-Installation
Proper maintenance helps preserve both the beauty and function of a freestanding tub. Enjoy it for years to come with these simple tips:
- Wipe down the tub after each use to prevent water spots, soap residue, and streaks.
- Use a soft cloth and mild, non-abrasive cleanser for routine cleaning.
- Avoid harsh chemicals, acidic solutions, or abrasive tools, especially on acrylic or semi-gloss finishes.
- Rinse and dry thoroughly after cleaning to maintain a clean, polished look.
- Inspect the drain and overflow regularly for any buildup, leaks, or loose fittings.
- Use a water softener to reduce mineral deposits if you live in a hard water area.
Related: Placement Tips and Considerations When Choosing a Freestanding Tub Filler
Common Installation Mistakes for Freestanding Tubs
Installing a freestanding tub requires precision to ensure functionality, longevity, and safety. If not handled properly, common mistakes during installation can lead to costly issues down the line.
-
Improper Leveling
A freestanding tub must be perfectly level to function correctly and avoid water pooling on one side. If not properly leveled, it can also strain plumbing connections and affect the user experience. -
Poor Sealing
Failing to seal the tub base and surrounding floor can allow water to seep underneath, leading to mold, mildew, and flooring damage. A watertight seal around the tub’s footprint protects the fixture and subfloor. -
Loose Drain Connections
Drain fittings that are not securely tightened can leak over time, causing water damage and potential mold issues beneath the floor. Ensure all connections are properly aligned and tested during installation. -
Inadequate Floor Support
Freestanding tubs can be extremely heavy once filled. The subfloor must be reinforced if necessary to handle the weight safely and prevent structural damage. -
Incorrect Faucet Placement
Installing floor-mounted or wall-mounted faucets too far from the tub rim can cause splashing or make them difficult to reach. Accurate measurement and alignment ensure ease of use.
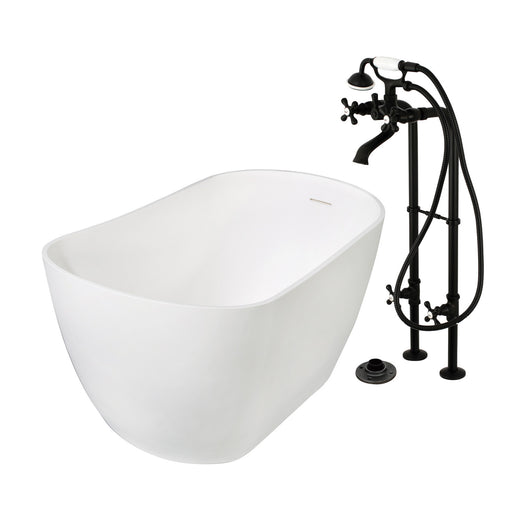
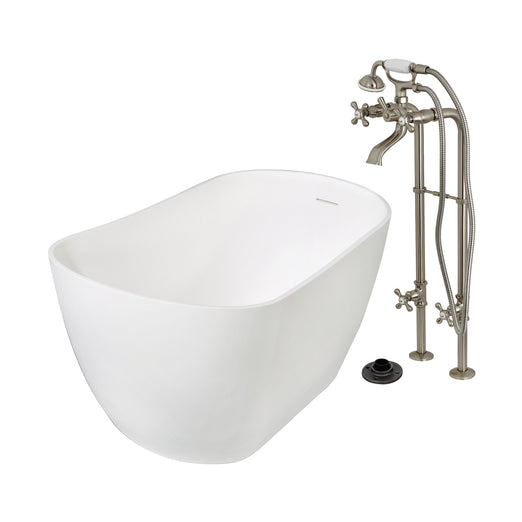
Complete Your Bathroom With KINGSTON

|
|
|
|

|
|

|

|

|
Elevate your space with timeless style and reliable performance. Whether you’re drawn to classic elegance or modern simplicity, KINGSTON offers an exceptional selection of freestanding tubs, freestanding tub faucets, and tub accessories to complete your bathroom.
Explore the collection to find the right tub size, finish, and faucet pairing for your layout. With proper planning and installation, your freestanding tub can become the centerpiece of a bathroom built for comfort and relaxation.
Shop now: Freestanding Bathtubs | Freestanding Tub Faucets | Tub Accessories
