
My Projects
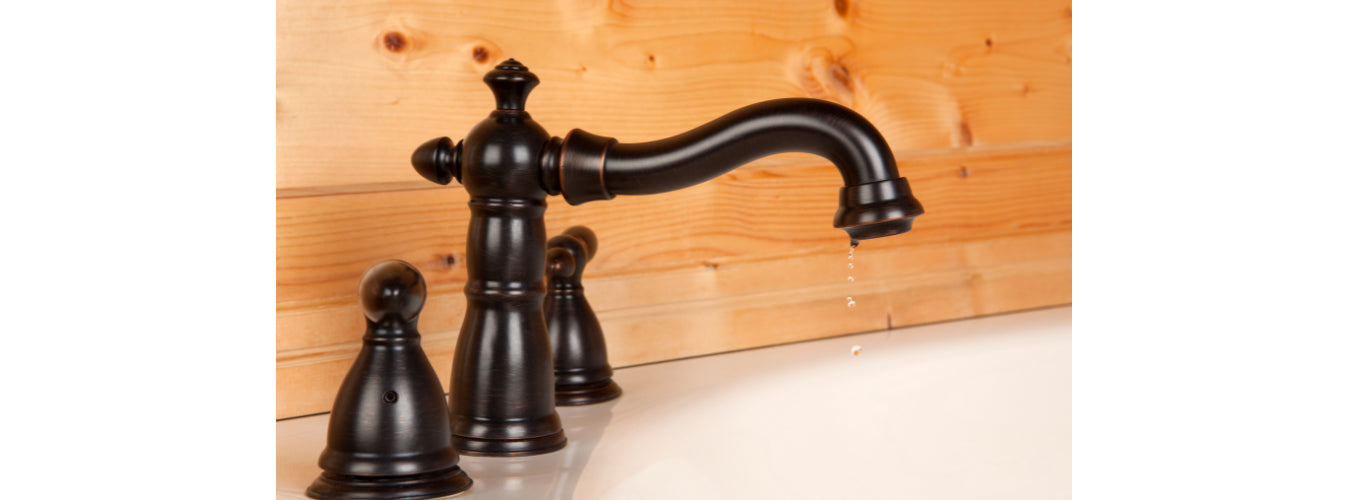
Nothing’s more frustrating than turning off your faucet and noticing drips of water leaking from it.
There are few things more frustrating than turning your faucet off and still having a drip.
If the continuous noise wasn’t enough, a faucet dripping at the rate of one drop per second would add up to 5 gallons of water wasted per day or 2,082 gallons per year. The good news is that you may not need to call a plumber.
There are many different types of faucet cartridges. This guide covers the three most common: Compression cartridges, washerless cartridges, and ceramic disc cartridges.
You will not know what kind you have until you remove the cartridge from the faucet. Once you have identified your cartridge type, the rest is easy.
In all cases make sure you shut off your water supply valves to prevent any leaks.

The compression cartridge is the oldest style of faucet cartridges.
You can tell if you have a compression faucet by turning your faucet handle.
If you have to turn the handle to more than one revolution to completely shut off the flow of water, then you know the faucet includes a compression cartridge.
In this case, the faucet compresses a rubber washer onto a metal opening on the faucet body. Generally, this metal opening is referred to as a “seat,” a round washer threaded into the faucet body.
Unfortunately, because of the friction between the rubber washer and the seat, both pieces eventually deteriorate to the point that your faucet will no longer keep a tight seal, and hence leak.
Once you have your cartridge out, you can easily remove the washer by removing a screw holding the washer to the bottom of the stem. You will also need to remove the seat, which will require a seat wrench.
All of these parts are generally readily available, and the cost should be under $15.
When you have removed the washer and seat, make sure you can locate the appropriate replacement. Apply teflon tape to the seat and thread the seat into the faucet body, being careful not to cross the thread. Attach the washer back onto the valve stem and re-insert the valve stem into the faucet.

This system is probably the most commonly used in multi-housing types of installations and also the preferred type of faucet of most building maintenance engineers.
It is very long-lasting, straightforward, and inexpensive to repair.

You have a spring applying pressure on a washer and in turn, is pushed onto a stainless steel plate.
The design of the plate either has two round openings or a crescent-shaped opening. As you turn the cartridge, the washer will line up with the openings, allowing the flow of water.

As wear accumulates, the spring will lose its tension allowing for the passage of water between the washer and the plate.
In some cases, the rubber washer may also show signs of deterioration.
If this your case, you can typically find the replacement springs and washers at any hardware store. Replacing it requires a bit of patience.
The simplest way to insert the springs and washers is to insert the washer and the spring (with the narrow part towards the washer,) over the tip of a small screwdriver.
Now you can delicately insert the parts into the hole. Once placed, push the washer and spring down with your fingers and gently remove the screwdriver.
You can test your work by applying a small amount of pressure onto the washer. It should feel springy, at that point you can install the cartridge and handle.

Some single-handle faucets use the same technology. Instead of a flat metal plate regulating the water flow and temperature, a stainless steel ball is used in its place.
The repair is the same as in the two handle variation, which once again involves replacing the springs and washers.
When you have located the replacement springs and washers, insert them into the wells in the same way as described for the two-handle faucets.
You will notice that the stainless steel ball has a vertical slot cut into the side. This slot will slide into a pin protruding from the side of the valve well.
Carefully, as you apply downward pressure on the ball stem, place the cam cap over the ball stem by inserting the tab on the cam cap into the notch on the faucet well. Maintaining downward pressure on the cam cap, thread the dome cap on the faucet.
After attaching the handle, it is recommended that you remove the aerator and let the water run for at least 30 seconds to clear any debris left on the lines.
From here you can replace the aerator and call it a job well done.

Ceramic cartridges are the latest technology available for managing the water flow of a faucet.
Inside the cartridge are two ceramic carbide disks, each with two triangular openings. As these openings line up, water is free to flow through the valve.
Although ceramic carbide is impervious to friction, it can be somewhat brittle, and from time to time, one or both of the disks may crack.
Most commonly this is caused by debris in the line–a perfect example of why flushing the line is so important.
Unfortunately, when this happens, the entire cartridge needs to be replaced, and every manufacturer has a proprietary size and style.
It is essential that you find out the specific brand of your faucet. Replacing is just as easy as taking one out and inserting the new one.
It is recommended that you flush the lines prior to this operation, so debris does not reach the cartridge.
