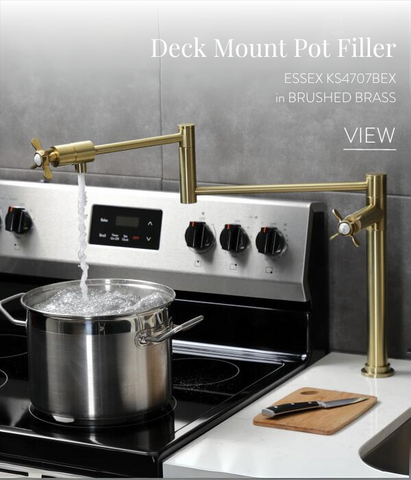
How to Fix a Leaking Pot Filler
Nothing beats the convenience of a pot filler in the kitchen. These handy faucets are ideally mounted directly above or next to the kitchen stove, allowing homeowners to fill up pots and pans without having to lug a heavy, water-filled dish across the room.
But when a pot filler begins to leak, it can spell trouble. Water can pool on the stovetop or even cascade behind the appliance. For this reason, the moment a homeowner spots the first signs of a leak, locating the fix is critical. In this guide, homeowners can learn more about how to fix a leaking pot filler and how to recognize when it is simply time to replace the piece.
DIY Fixes
In many cases, a leaking pot filler can be quickly fixed with a little bit of DIY effort and a few affordable parts. Try the following five steps first when a pot filler begins to leak.
#1: Look for the Origin of the Leak
The first thing to do is to inspect the pot filler and try to determine where the leak is originating from.
If the leak is coming from the spout or the arm of the pot filler, a DIY fix might do the trick. When this is the case, move on to the next step.

#2: Disassemble the Spout
With the water to the kitchen turned off, disassemble the spout using an adjustable wrench. Make sure to follow any specific guidelines for the pot filler as outlined in the original manual.
From here, remove the cartridge, washers and “O” rings.
#3: Replace the Cartridge and any Damaged Washers
With the washers pulled out of the faucet, check for signs of cracking, crumbling, or decay. Replace the cartridge and any damaged washers with new pieces of the same size.
#4: Tighten All Connections
Reassemble the spout and tighten all connections. If the leak seems to originate from the pot filler arm, try tightening the connection with a wrench, being careful not to overtighten and strip the threads.
#5: Turn the Water Back on and Test
Finally, with the faucet put back together and all the worn out parts replaced, turn the water back on and give the pot filler a test. If the leak still persists, it might be time to replace the entire faucet.
Find a New Pot Filler at Kingston Brass
A great place to shop a myriad of designs and styles is Kingston Brass. Our extensive collection of pot fillers spans a variety of kitchen designs, making it easy to match a new pot filler to any room style. Additionally, homeowners can pick from quality finishes, such as polished chrome, oil-rubbed bronze, brushed nickel, antique brass, and matte black. And, each product is equipped with an installation guide, making for a simple swap out of products.


