Ready for a new showerhead for every bathroom in the home? Shop our selection here at Kingston Brass.

My Projects
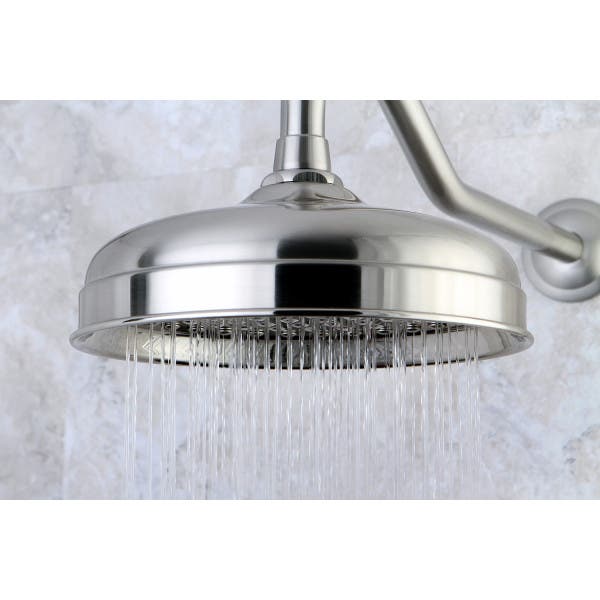
This can be the trickiest step, so a homeowner should be able to figure out if they need a plumber’s help at this stage. Check out the shower head and try to unscrew it by hand gently. If the shower head has a rotating feature that adjusts pressure or spray patterns, use a wrench or showerhead tool to apply pressure to the nut at its base instead. Grab the pipe it’s attached to with the other hand to get good leverage. A shower head that is firmly stuck or rusted on will need a plumber’s attention, but any other fixture should come loose with a few turns to the left.
The pipe or arm holding the showerhead is likely covered in a visible mineral build-up or rust. Wipe any of this away from the threads and out of the opening of the pipe where it can impede water flow. If the pipe seems heavily covered in scale inside, consider having a plumber replace it. Make sure the threads at least are clear of any mineral build-up since this will interfere with a tight fit and cause leaks from the start.
Once the threads are clear, wrap them with a few layers of Teflon plumbing tape. This creates a watertight seal between the two fittings when they’re screwed together. Line the new shower head up carefully on the threads and twist the fixture on until it’s tight. Watch out for cross-threading and start over if the shower head starts tilting to one side. If the showerhead is handheld, simply screw the end of the hose to the fitting and the head to the other end of the hose. Test the showerhead to look for leaks and start over if there are any drips.
Ready for a new showerhead for every bathroom in the home? Shop our selection here at Kingston Brass.

