
My Projects
Within a kitchen, some features are both functional and design focal points. One such important feature is the kitchen sink. DIY kitchen sink replacement is a great way to cut down on costs when remodeling your home.
Before you pull out your tools and get to work removing an old sink, be sure you have picked out your kitchen sink replacement. At Kingston Brass, we provide a varied selection of kitchen sinks that are high quality and designed to fit any style. Once you have chosen your new kitchen sink, it is time to get to work.
1. The first place to begin with a kitchen sink replacement is by removing your old sink. Be sure you turn off the water connected to your kitchen sink, as well as the power to your disposal, if applicable.
2. The next step will be to use a putty knife or similar tool to loosen any sealant or caulking around your kitchen sink fixture.
3. Once you have loosened the sink itself, you will need to disengage all pipe connections to the sink. Utilize a large bucket to catch any water that might be resting in the pipes as you disconnect them. If you have a garbage disposal, you will need to remove this carefully according to the manufacturer’s instructions.
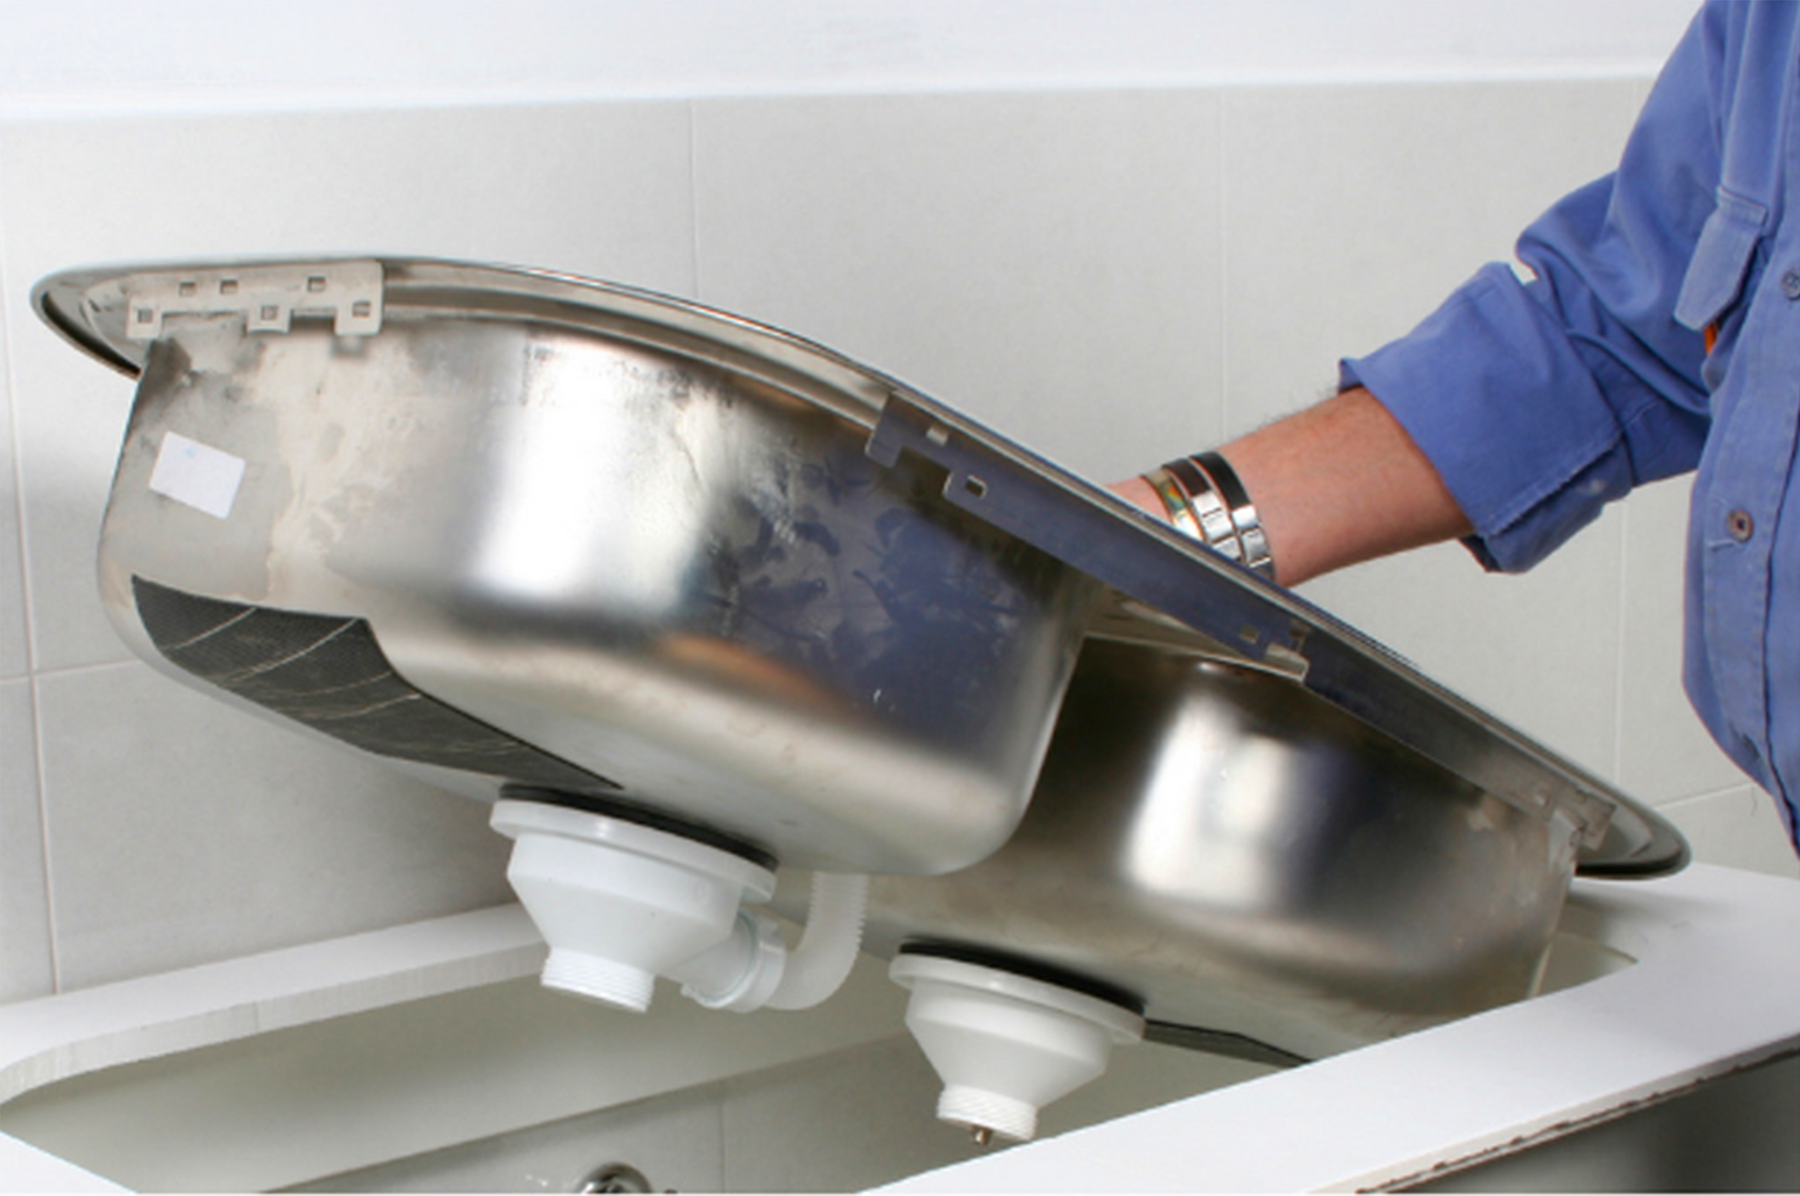
4. Once you have disconnected all pipes, it is time to lift the body of the sink out of your countertop.
5. After removing your old kitchen sink, take some time to clean the area. Before beginning installation, measure the area to ensure your new sink fits in the same space. If not, you will need to make further adjustments to either create more room for your new sink or to adjust the space for a smaller fixture.
6. Once your measurements are accurate, you can begin the installation.
First, install the sink’s faucet, as well as any other additional features with which your sink is equipped.
7. After the faucet is in place, install the drains, utilizing a sealant, such as putty, to ensure a tight seal.
8. Next, place the kitchen sink into the existing countertop opening. During this stage, if your sink comes with additional hardware, such as clips, be sure to attach these accordingly. Applying silicone to the edge of the basin prior to lowering it into the opening can help to ensure a watertight seal.
9. Once you have tightened down any of the accompanying hardware, you can begin reconnecting your pipes and water lines. At this stage, you can also reconnect your garbage disposal and dishwasher drain as applicable.
10. Finally, turn back on your water supply and electricity to test out your new kitchen sink.
DIY kitchen sink replacement is a great method for revamping an old space or upgrading functionality. The first place to begin is with the purchase of a new kitchen sink. Shop our selection today to find a high-quality sink that will offer you improved design and performance.
