Are you a pro?
Get PRO Pricing
Get [PRO] Pricing
Even if you are an aspiring handyman, fixing a leaky faucet will most likely be a skill that is familiar. Fixing a leaky bathtub faucet is a slightly more obscure skill, and maybe intimidating for the unfamiliar, but it too is an easy fix that will save you money and save your tub from an unsightly water stain. Maybe best of all, once you have gotten this quick fix down you will have one less problem to call the plumber about.
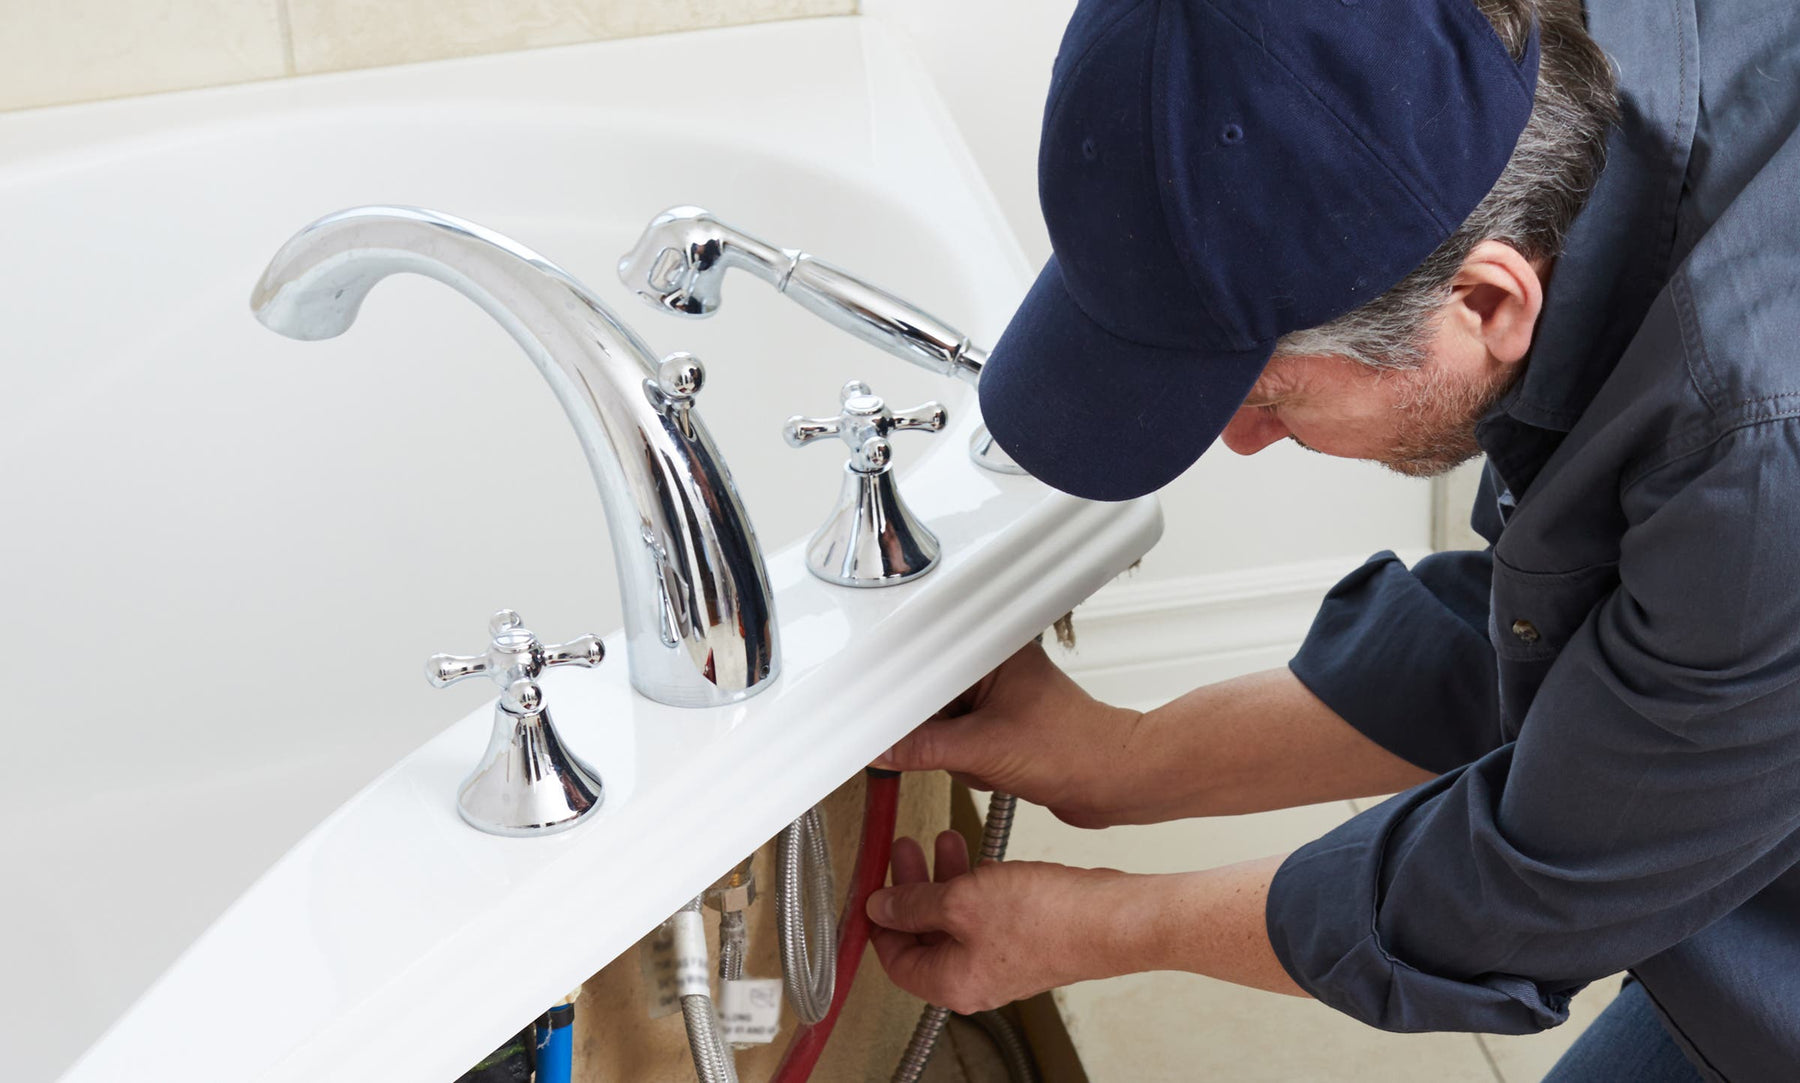
If you are feeling handy, then follow this quick and simple guide on how to remove a tub spout!
First things first! If you don’t want to spray yourself while removing the faucet, then you’re going to have to shut the water supply off.
Turning off the water supply for the tub faucet alone may be an option if you are aware of the location of the valve. If not, the water supply for the whole house can be shut off by finding the lever near your water meter.
After you have done this, open the faucets tap to drain any excess water.
Removing the faucet cap will allow you access to the faucet handle screw. To do this, use a flat edge, like a flathead screwdriver or pocket knife to pop the cap out and then put it somewhere safe as you continue your repair.
From here, you should be able to see a screw that the cap was concealing. Find an appropriately sized screwdriver and remove the screw.
It is recommended to put your tub stopper in at this point to avoid losing the screw down the drain. Once the screw is removed, put it somewhere safe.
Removing the handle will hopefully be as easy as it sounds. In a perfect world, the handle should slide right off, but if the installation is an older one, the handle may be fused to the stem due to water deposits or corrosion.
In the case that you do have difficulty, don’t try to force the hand;e off, instead try pouring boiling water over the handle to loosen it. If this doesn’t work, you may need to acquire a handle puller, a tool designed specifically for this situation.
Removing the escutcheon should also be a simple step. Most escutcheons can either be removed by unscrewing it. If there is no screw, you should be able to twist it off.
Now that the handle and the escutcheon are removed, you should have clear access to the stem assembly. This part is most likely the source of your leak problem. An adjustable wrench should work just fine for removing the stem assembly.
The most simple explanation for your leaky faucet is a bad washer. The washer is located at the end of the stem assembly. If it looks warped or brittle, then it can safely be assumed that it needs replacement. Replacing this should solve the leak.
If you have a correctly sized washer on-hand, then go ahead and switch the old washer out with the new one. Unscrew the screw holding the washer in place, switch the washers, and replace the screw.
If you don’t have a washer on hand, a new one can be purchased at a hardware store. Taking the old washer with you will allow the hardware store staff to help you find the replacement you need.
If the washer doesn’t seem to be the culprit, a damaged seat could also be the source of the leak. Even if you do have to replace the washer, still check the seat because a bad washer indicates that the seat could be damaged as well.
Replacing a damaged seat will require a seat wrench, a special tool made for this exact purpose.
After you have replaced the washer and confirmed that the seat has no damage, you can put the faucet back together again.
First, put the assembly back in place and tighten it with a wrench. Then put the escutcheon back on, and then the handle, handle screw, and handle screw cap.
Now you can turn the water back on and test if the leak has been fixed! If the leak is gone, then congratulations! Now you know how to fix a leaky tub faucet.
If you decide it is time for an upgrade or replacement, look to Kingston’s extensive catalog of exquisite tub faucets!
