Are you a pro?
Get PRO Pricing
Get [PRO] Pricing
Suppose you're contemplating the installation or replacement of a prep sink. In that case, it's crucial to grasp the unique aspects of these fixtures. Unlike regular faucets, prep sinks and their accompanying faucets are designed with specific functions in mind. Let's delve into these distinctive features to give you a better understanding.

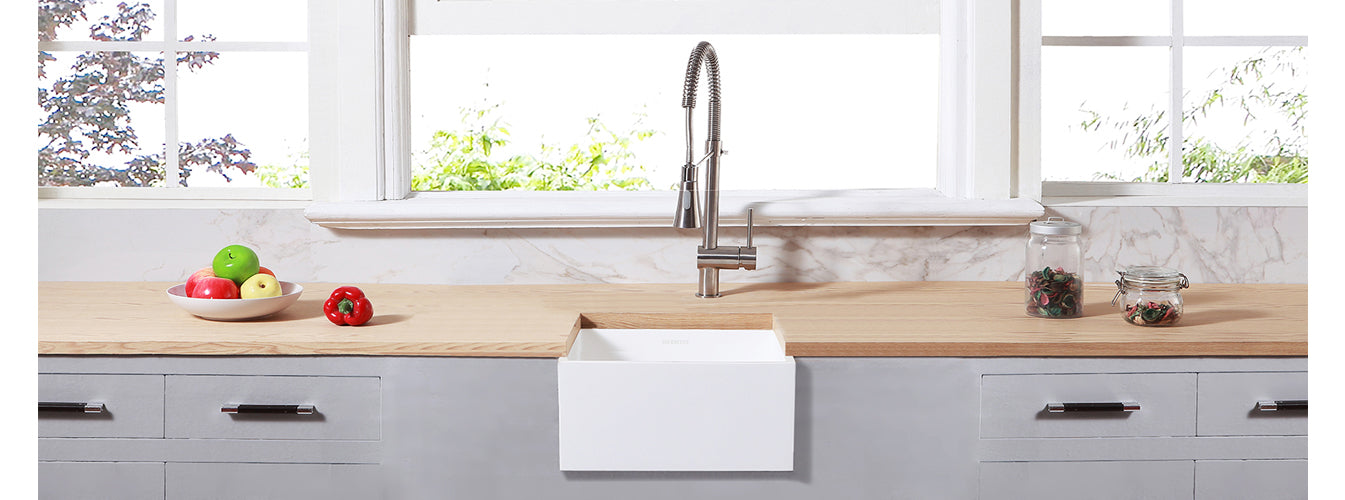
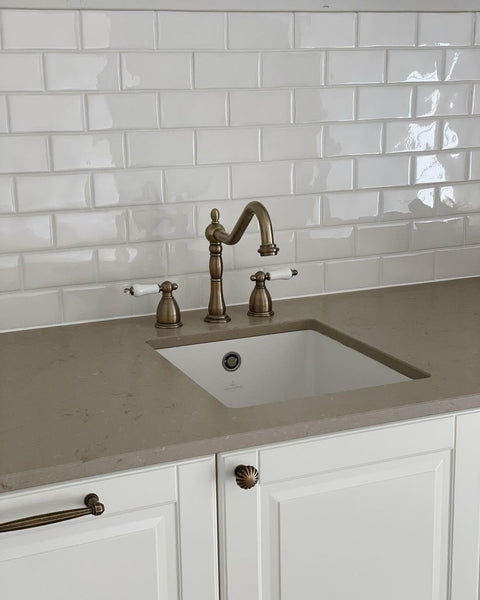
A prep sink, also known as a bar sink, is a smaller secondary sink typically measuring around 15 to 22 inches long, 15 to 25 inches wide, and 5 to 8 inches deep. These sinks come in round or square shapes. They are made from stainless steel, copper, cast iron, and sometimes vitreous china. Depending on your countertop, they are available in top mount or undermount configurations. In recent years, there has been a rise in the popularity of farmhouse-style prep sinks explicitly designed for that purpose.

There are numerous practical advantages to having a prep sink in your kitchen or bar. It provides a secondary space for prepping ingredients, watering plants, and washing small kitchen utensils. In compact or outdoor kitchens with limited space, a prep sink can even serve as the primary sink, transforming a dry bar into a vibrant smoothie central. The installation of a prep sink not only enhances the functionality of your kitchen or bar but also adds value to your home. It creates an additional prep area, streamlining meal preparation and adding convenience to your daily routine.

When selecting a faucet for your prep sink, it's crucial to consider aesthetics and functionality. Since prep sinks handle various kitchen tasks, the faucet should be visually appealing and practical. Look for a high spout, allowing ample space to place large pots underneath. Another essential feature is either a side spray or a pull-down spray head, providing flexibility and ease of use. Wall-mount faucets are also an option, and Kingston Brass offers a range of wall-mount faucets with side sprays among their options.
The installation of a prep sink and faucet is a task that requires careful planning. Prep sinks typically feature a single bowl for a compact installation. Suppose you're installing a new prep sink in a granite countertop and lack professional stone-cutting skills. In that case, hiring a local expert to cut the hole is advisable, as it can be a complex task. It's important to determine the location of your prep sink in advance to ensure accurate placement. Once the opening is sized and cut, simply drop in the prep sink and proceed with the plumbing. Each faucet from Kingston Brass includes step-by-step installation instructions for your convenience.
If you're replacing an existing prep sink, measure the size of the sink you have and order a similar one. This helps avoid additional carpentry work on the countertop. Before removing the old prep sink, take a picture of the plumbing underneath for reference during the installation of the new sink. Once the new sink is in place, attach the new faucet and plumbing, mimicking the configuration captured in the reference picture.
Visit Kingston Brass for more information and a wide variety of prep faucet options. They offer an extensive selection to suit your preferences and requirements.
